

- Published on
Drupal 8 custom Google Maps and automatic geocoding with Composer, Drupal Console and Drush
- Authors
- Name
- Christophe Jossart
- @colorfield


Outdated content
Most content from this article might still be relevant but some sections can be outdated.
The scope of this article is to illustrate the responsibilities of several tools and techniques used in the Drupal ecosystem (Composer, Drupal Console, Drush, Configuration management) to achieve quickly a simple custom Google Maps use case: an Address field will be defined on a content type and we want the address to be geocoded automatically for each node on save to display a Google Map.
The display of the map will be achieved by a custom module to allow further extension.
In a real world scenario, for such a trivial case, the module would probably be replaced by Simple Google Maps for basic use cases or Geolocation Field for more advanced ones.
The code of the example module is available on GitHub.
Install contributed modules (and dependencies) with Composer
We will need 3 contributed modules for this case : Address, Geofield, Geocoder.
They will be installed with Composer, see a previous article for more details about Composer.
The name and the version of each module can be found easily on Drupal.org:


For the version, pick the section after the 8.x-

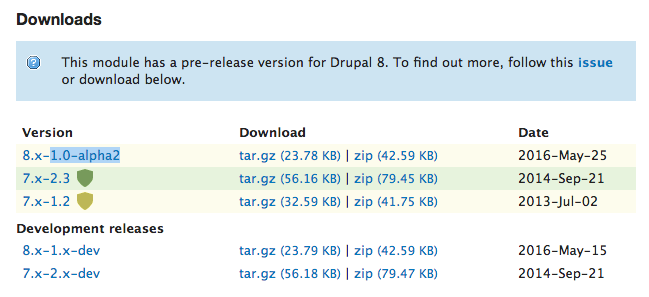
Check the versions, they evolve quickly, but at the time of writing it looks like the following.
You can still omit the version but check also the minimum-stability in your composer.json, it is by default dev with "prefer-stable": true. Most of the modules are still in alpha, beta or release candidate and you will probably want a non dev release for production.
Type these commands in your terminal at your project docroot (public_html, www, ...).
It will download the modules and their dependencies.
# If not done yet, define the repository for Drupal 8
composer config repositories.drupal composer https://packages.drupal.org/8
# Then download the module
composer require drupal/address:1.0-rc3
composer require drupal/geofield:1.0-alpha2
composer require drupal/geocoder:2.0-alpha5
Then enable the modules (and geocoder sub modules) with drush, without any validation (-y).
drush en -y address geofield geocoder geocoder_field geocoder_geofield geocoder_address
Get a Google Maps API Key
Follow these instructions for getting a Google API Key.
You can focus on the following steps in most cases.
- Go to the Google API Console.
- Create or select a project.
- Click Continue to enable the API and any related services.
- On the Credentials page, get an API key (and set the API key restrictions).
Note: If you have an existing unrestricted API key, or a key with browser restrictions, you may use that key. - To prevent quota theft, secure your API key following these best practices.
- (Optional) Enable billing. See Usage Limits for more information.
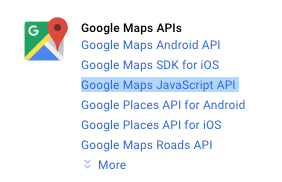
Just pick the Google Maps JavaScript API in 3 and select the API key as credentials in 4.

Site building : create your fields and automate geocoding
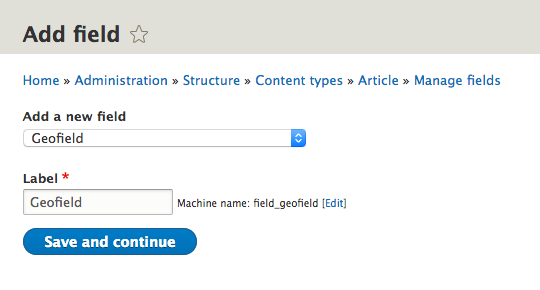
1. Create the Address field
Add the Address field to your content type and make sure you have chosen the "fields" configuration that will allow geocoding.


2. Geocode automatically on save
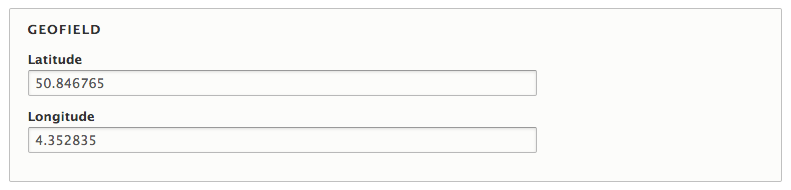
Add the Geofield to your content type, it will store the latitude and longitude.
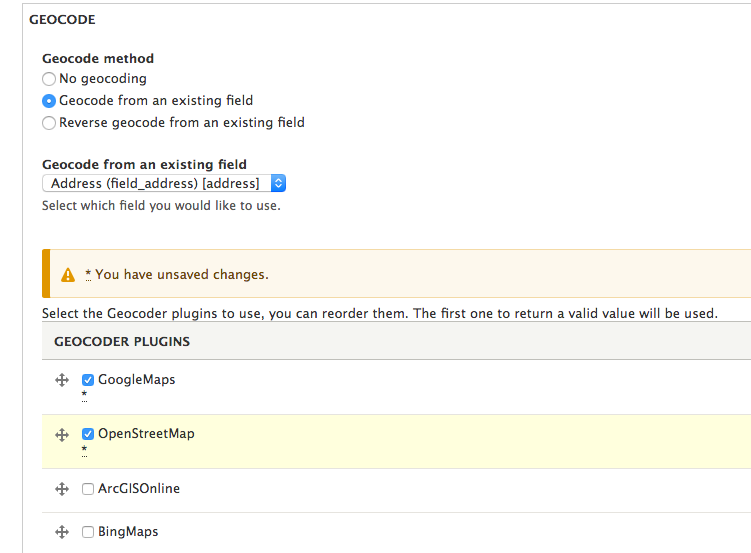
Then choose the following options on the field configuration:
- Set the Geocode method to Geocode from an exisiting field
- Select the previously created Address field
- Define your prefered Geocoder plugins, for example Google Maps and OpenStreetMap
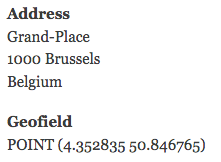
Now let's test our configuration by creating a new node: fill the Address field and leave the Geofield field empty.


The Geofield values are automatically being geocoded, sweet!


Scaffold your custom module with Drupal Console
Use the generate:module Drupal Console command in your project directory.
# alias for drupal generate:module
drupal gm
In the latest version of Drupal Console, it is now possible to ask for a themeable template. Use the default options after having defined a name for your module. We will only skip the default composer.json and unit test class for this example.


Generate a Block with Drupal Console
Let's continue by generating a Block Plugin
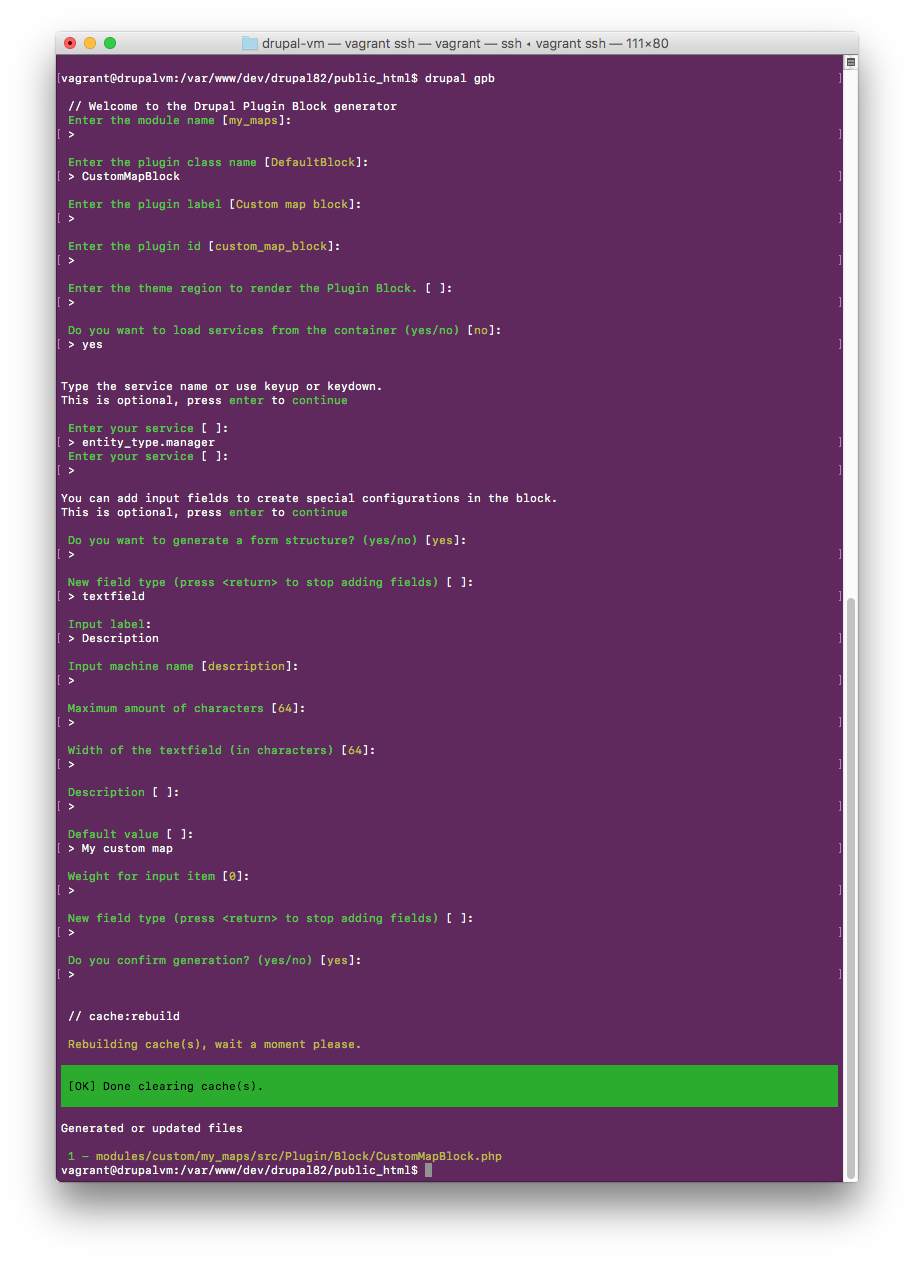
# alias for drupal generate:plugin:block
drupal gpb
Here, we will still use most of the default options: just reference your module name, define a class name for your block (e.g. CustomMapBlock).
We will then load a service for fetching other nodes within the block: entity_type.manager.
This will be described in another post.
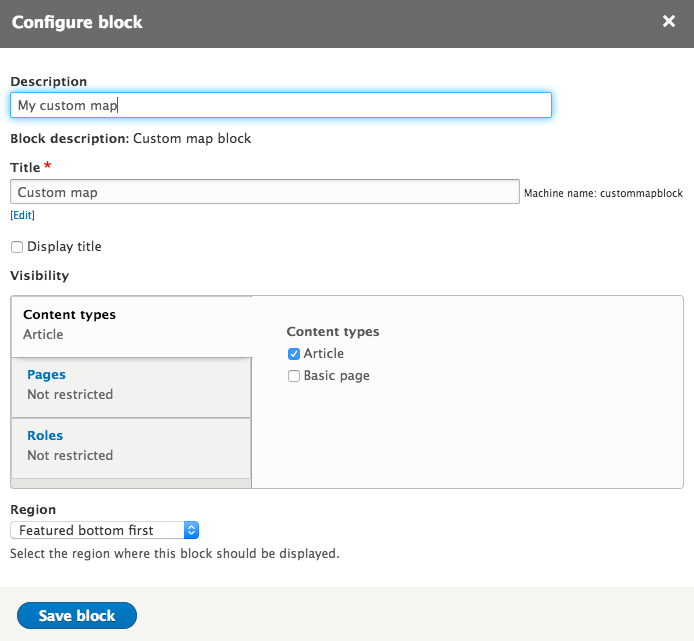
Then, we will ask for a form structure generation to give a custom description to our block
It will be used in our template.

Create your own template
We will now edit the my_maps.module file to add variables for our template. Just define the description previously defined while creating the block.
/**
 * Implements hook_theme().
 */
function my_maps_theme() {
  return [
    'my_maps' => [
      'variables' => [
        'description' => null,
      ],
      'template' => 'my_maps',
      'render element' => 'children',
    ],
  ];
}
Then edit the templates/my_maps.html.twig to print your variables and append the map wrapper.
{#
/**
* @file
* Theme implementation of the store map.
*
* @ingroup themeable
*/
#}

<p>{{ description }}</p>
<div id="my-map" style="width:500px; height:500px;"></div>
Initialize the map with custom Javascript
Create a file under js/custom_maps.js and define the init function that will fetch the geolocation object and node title from the drupalSettings that will be passed via your block (see below).
/**
 * @file
 * Attaches behaviors for the custom Google Maps.
 */

;(function ($, Drupal) {
  /**
   * Initializes the map.
   */
  function init(geofield, title) {
    //console.log(geofield);
    var point = { lat: geofield.lat, lng: geofield.lon }

    var map = new google.maps.Map(document.getElementById('my-map'), {
      center: point,
      scrollwheel: false,
      zoom: 12,
    })

    var infowindow = new google.maps.InfoWindow({
      content: title,
    })

    var marker = new google.maps.Marker({
      position: point,
      map: map,
      title: title,
    })
    marker.addListener('click', function () {
      infowindow.open(map, marker)
    })
  }

  Drupal.behaviors.customMapBehavior = {
    attach: function (context, settings) {
      init(settings.geofield, settings.title)
    },
  }
})(jQuery, Drupal)
Add your libraries
Create a new file at your module root (close to my_maps.info.yml) : my_maps.libraries.yml
You will define the external Google Maps library with your API key, then the custom Javascript file that was just created.
google.maps:
  version: 3
  js:
    https://maps.googleapis.com/maps/api/js?key=YOUR_API_KEY: { type: external, minified: true }

custom_map:
  version: VERSION
  js:
    js/custom_map.js: {}
  dependencies:
    - core/jquery
    - core/drupal
    - my_maps/google.maps
What is interesting here is that the Google Maps library is referenced as a dependency of custom_map, straight from the libraries.yml file, so we will avoid defining two libraries in any #attached declaration, which is much more maintainable (see below).
Attach libraries to the block, get the the result of the geolocation, and pass it to your Javascript
Now, attach the library to the custom block created previously (src/Plugin/Block/CustomMapBlock.php).
Get rid of the Drupal Console generated stub.

Replace by the following, where we will
- Get the first value of the Geofield of the current node and its title that will be used by Javascript.
- Use a render array on the build method that will define the description and the drupalSettings for Javascript.
// Import the Node class, after the namespace
use Drupal\node\Entity\Node;
(...)
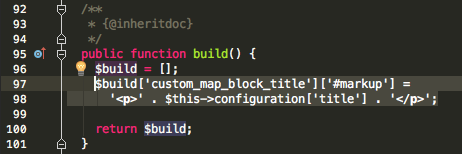
/**
* {@inheritdoc}
*/
public function build() {
$build = [];
// Get the current node object
$node = \Drupal::routeMatch()->getParameter('node');
if ($node instanceof Node) {
$build = [
'#theme' => 'my_maps',
'#description' => $this->configuration['description'],
'#attached' => array(
'library' => array(
'my_maps/custom_map',
),
'drupalSettings' => array(
// Return the first Geofield value
'geofield' => $node->get('field_geofield')->getValue()[0],
'title' => $node->getTitle(),
),
),
];
}
return $build;
}
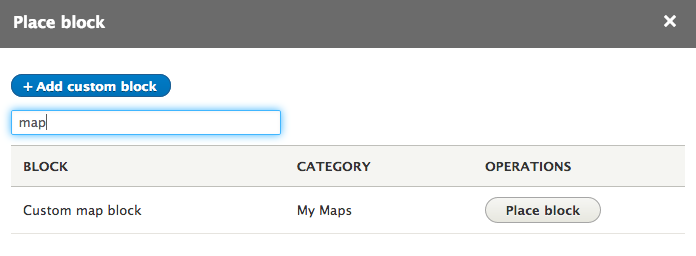
Place your custom block
It is now time to enable your custom module.
drush en my_maps -y
# Run cache rebuild to make sure that your block and template are available
drush cr
Then head to the block layout page (/admin/structure/block) and place it on the region of your choice for the content type for which you defined the Address and Geofield fields.


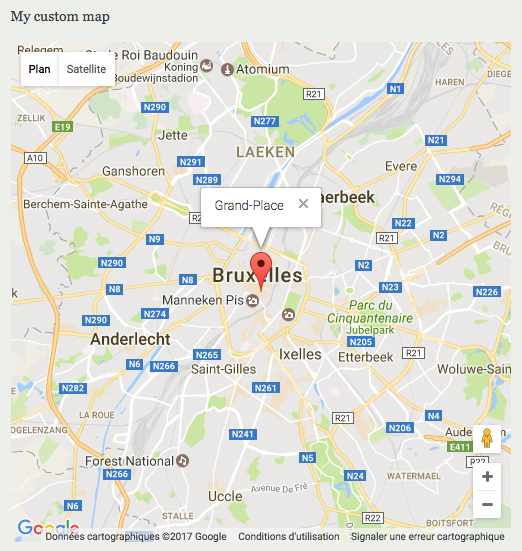
Et voilà, a map in all its glory!

Deploy in production
Export your configuration: it includes the following configuration made via Configuration Entities (but not the contents, that are handled via Content Entities):
- modules enabled
- fields added to the content type (and their configuration)
- the block instanciation and its configuration
A common practice is to move the configuration directory from sites/default/files/config_XXX to an adjacent directory of your docroot. It is safer and will allow you to include the configuration in your VCS (git, svn, ...).
To achieve that, just change the last line of your settings.php file (under sites/default in a single site Drupal installation)
$config_directories['sync'] = 'sites/default/files/config_XXX/sync';
// becomes
$config_directories['sync'] = '../config';
Export on your local environment with drush
# alias for drush config-export
drush cex
Make the config directory available to your staging or production environment (via any continuous integration mechanism) then run import:
# alias for drush config-import
drush cim
Going further
The purpose of this article was to expose several Drupal techniques that are becoming standards in Drupal 8. However, you can now, for example, make use of features like client geolocation on custom_map.js, use the entity type manager service to display addresses for other nodes on the same map, ... To be continued in another post.